.jpeg)
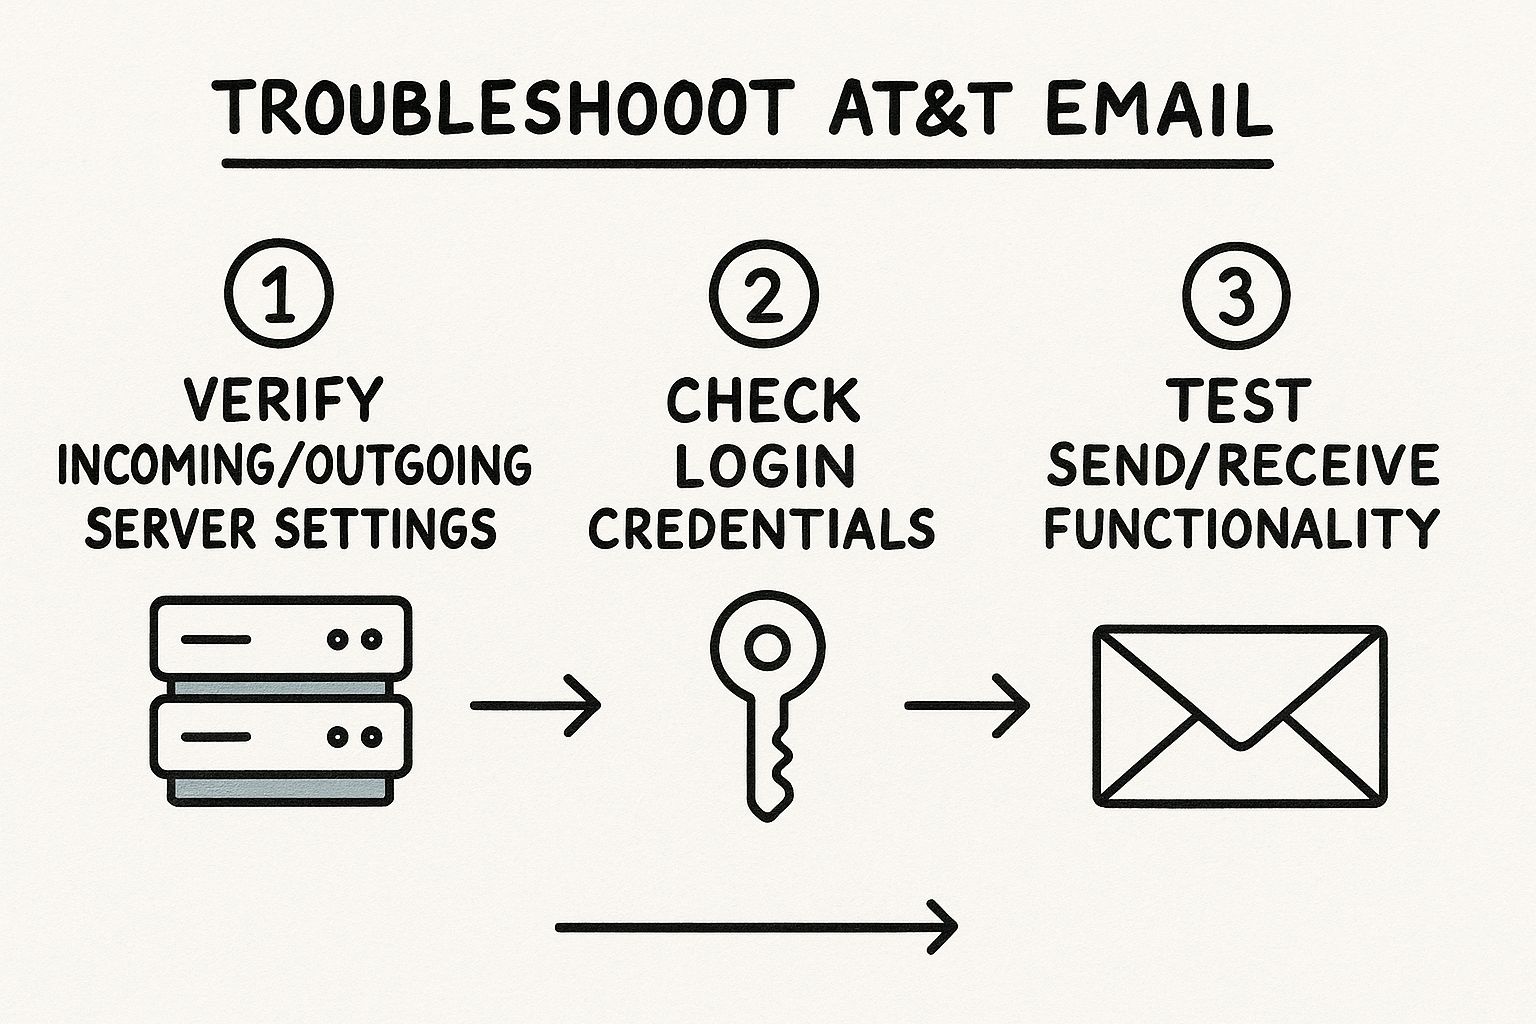
Getting your AT&T email settings dialed in is the key to using your account with apps like Outlook, Apple Mail, or the mail app on your phone. Think of these settings—IMAP, POP3, and SMTP—as the secret handshake between your email app and AT&T's servers. Get them right, and your att email login mail flows smoothly. Get them wrong, and you're in for a world of login errors and syncing headaches. If you're looking for the correct server details to configure your client, you've come to the right place.
Your Guide to AT&T Email Server Settings
Whether you're setting up a new phone or adding your AT&T account to a desktop client, you'll need to plug in some specific att mail server settings manually. This is how you tell your app where to find your incoming mail and how to hand off your outgoing messages for a successful att login to email.
The good news? This applies to a whole family of email addresses under the at and t email umbrella. If you have an older account like sbcglobal.net, bellsouth.net, or pacbell.net, don't worry—the settings are exactly the same as they are for a standard att.net address. This simplifies things a lot, whether you need bellsouth email access or have an ameritech.net mail account.
The main decision you need to make is how you want to handle your incoming mail: using IMAP or POP3.
Choosing Between IMAP and POP3
This choice is a big deal because it determines how your email behaves across different devices. Let's break down the att webmail settings.
IMAP (Internet Message Access Protocol): This is what you should use 99% of the time. The att imap settings keep all your emails on the AT&T server and just syncs a copy to your devices. When you read an email on your phone, it shows up as "read" on your laptop, too. Deleting a message removes it everywhere. It’s the modern standard for a reason.
POP3 (Post Office Protocol 3): This is an older method where your email app downloads messages from the server to one single device, and then usually deletes them from the server. It's really only useful if you check att email on one computer and want a local, offline copy. For most people today, it’s a recipe for confusion and lost emails.
Honestly, unless you have a very specific, old-school reason to use POP3, just go with IMAP. It's the clear winner for anyone who uses more than one device for their att email login.
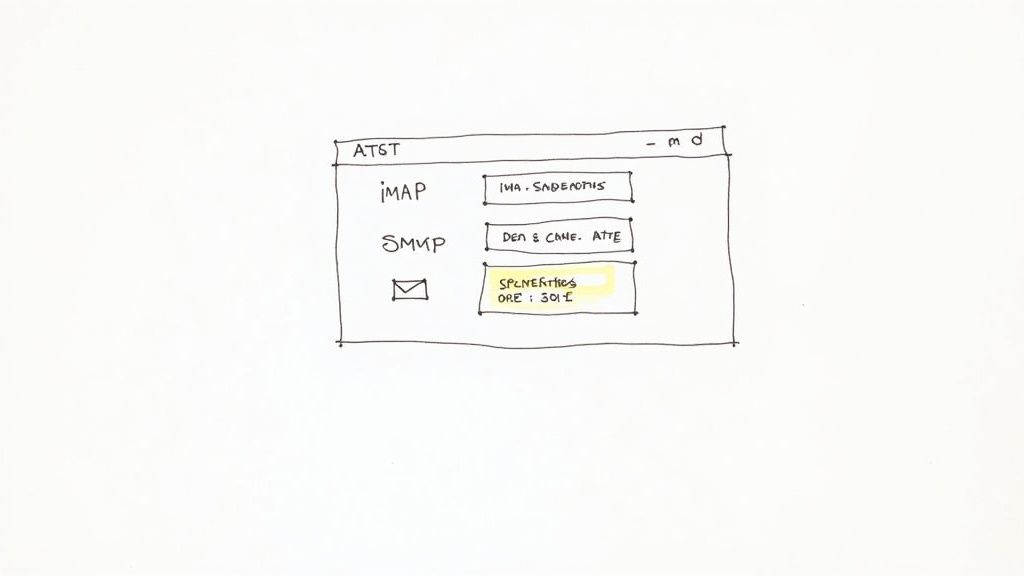
Here’s a quick reference table with all the att email server settings you'll need. Just find the protocol you're using (IMAP or POP3) and plug these values into your email client's settings.
AT&T Email Server Settings (IMAP & POP3)
Once you've entered the server, port, and your username (your full email address) and password, your email client should be good to go. The process is pretty similar for other email providers, though the server names and ports will be different. For example, setting up another provider is a similar process, as shown in our guide on AOL mail settings.
Key Takeaway: Always, always enable SSL/TLS encryption for both incoming and outgoing servers. This is non-negotiable. It scrambles the connection between your device and the server, protecting your login details and email content from anyone trying to snoop on your network.
Getting AT&T Email Set Up in Microsoft Outlook
Microsoft Outlook is a powerhouse for managing emails, but getting it to sync up with an AT&T account can sometimes be a headache. While Outlook's automatic setup should work in theory, I've seen it stumble countless times, especially with older att email domain addresses like sbcglobal.net or bellsouth.net.
The most reliable way to get your att email setup working smoothly is to configure it manually. It gives you full control and sidesteps most of the common connection errors. You're basically just telling Outlook exactly where to find AT&T's mail servers. It sounds technical, but it’s actually pretty straightforward.
Kicking Off the Manual Setup
First things first, open up Outlook and head to File > Add Account. You’ll see a prompt to enter your email address. Go ahead and do that, but instead of clicking "Connect," look for a link that says "Advanced options" and then check the box for "Let me set up my account manually." This is the crucial first step for the correct att email settings outlook.
From there, Outlook will ask what kind of account you're adding. You'll want to choose either POP or IMAP. As a general rule, IMAP is the way to go. It keeps everything synced across all your devices, so an email you read on your phone will also show as read on your computer.
This is the screen where the magic starts. After putting in your email, clicking those advanced options is your ticket to a successful setup.
Dialing in the Server Ports and Encryption
Once you've entered the server names (imap.mail.att.net for incoming and smtp.mail.att.net for outgoing), you’ll get to the screen for ports and encryption. This is where most setups for att.net email settings for outlook go wrong, so pay close attention.
For both your incoming and outgoing servers, you must set the encryption method to SSL/TLS. This is non-negotiable; it keeps your emails secure.
Next, match the ports to the encryption:
- Incoming (IMAP): Port
993 - Outgoing (SMTP): Port
465
Finally, make sure to check the box that says your outgoing server (SMTP) requires authentication. It should use the same username and password as your incoming server.
Solving Common Outlook-Specific Roadblocks
Even with the right settings, you might hit a snag. The most common issues I see are Outlook constantly asking for your password or emails getting stuck in the Outbox. More often than not, the culprit is the same: you need a Secure Mail Key.
AT&T now requires a unique, 16-character Secure Mail Key for third-party email clients like Outlook. You have to generate this key from your myAT&T account profile online. Once you have it, use that key—not your regular password—in the password field in Outlook's settings.
If emails just won't send, double-check your att smtp server settings. That little box for "My outgoing server (SMTP) requires authentication" is a big deal. If it’s unchecked, AT&T's server won't know you're authorized to send mail.
Getting these outlook att email settings right is key. And if you really want to level up your Outlook game, learning how to schedule emails in Outlook can be a great way to manage your workflow even better. By taking the manual route and using that Secure Mail Key, you’ll build a rock-solid connection between AT&T and Outlook and leave those frustrations behind.
Adding AT&T Mail to Your iPhone or iPad
Getting your AT&T email up and running on your iPhone or iPad is a must for staying in the loop. The native iOS Mail app is a fantastic tool, but it has a specific quirk when it comes to AT&T accounts that trips a lot of people up.
It's tempting to just tap the 'Yahoo!' option during setup—after all, Yahoo hosts AT&T's mail. But don't do it. This common mistake often leads to frustrating sync issues and login failures down the line.
The surefire way to get a solid connection is to set it up manually. This method puts you in control of the att.net email settings iphone, guaranteeing a stable link for all your accounts, whether they end in att.net, bellsouth.net, or swbell.net.
Kicking Off the Manual Account Setup
First things first, grab your iPhone or iPad and open the Settings app. Scroll until you find Mail, tap it, and then head into Accounts. From here, you’ll tap Add Account.
You'll see a list of big-name email providers. This is the crucial part: completely ignore the 'Yahoo!' option. Instead, scroll to the very bottom and choose Other. On the next screen, tap Add Mail Account. This is where you'll punch in your name, full AT&T email address (like example@sbcglobal.net), password, and a quick description for the account.
Once that's filled in, tap Next. Now, the Mail app will ask you to supply the server details yourself.
Plugging in the Correct IMAP and SMTP Info
This next screen is where the magic happens. Make sure the IMAP tab is selected at the top. This protocol is what keeps your emails perfectly synchronized across your phone, tablet, and computer.
Here are the exact details you need to enter for both incoming and outgoing mail servers:
Incoming Mail Server
- Host Name:
imap.mail.att.net - User Name: Your full AT&T email address
- Password: Your AT&T password or Secure Mail Key
Outgoing Mail Server (SMTP)
- Host Name:
smtp.mail.att.net - User Name: Your full AT&T email address
- Password: Your AT&T password or Secure Mail Key
A common mistake is leaving the username and password fields blank for the outgoing server just because they look optional. Fill them out for both incoming and outgoing sections to avoid sending errors. Once you've double-checked everything, tap Next. Your device will take a moment to verify the att.net email settings on iphone.
Pro Tip: If you use two-factor authentication on your AT&T account, you absolutely must use a Secure Mail Key instead of your regular password. This is a special 16-character code you generate from your myAT&T account profile. Think of it as a unique password just for the Mail app.
Finalizing the Setup and Fixing Common Glitches
After your settings are verified, you’ll land on a final screen where you can choose what to sync. Most people just need Mail, so make sure that's toggled on and tap Save. That's it! Your AT&T inbox should start populating in the Mail app.
But what if you hit a snag? Here are the most common culprits:
- "Cannot Verify Server Identity": This almost always means there's a typo in the hostname. Carefully check that you've entered
imap.mail.att.netorsmtp.mail.att.netcorrectly. - Incorrect Password Errors: Nine times out of ten, this means you need to generate and use a Secure Mail Key from your AT&T profile.
- SSL Errors: Dive back into the account's advanced settings and confirm that "Use SSL" is enabled for both servers. The IMAP port should be 993, and the SMTP port should be 465.
The basic principles of a manual IMAP setup are pretty similar across different email providers, even if the server names and ports change. If you're managing multiple accounts, getting comfortable with this process is a huge help. By taking a few extra minutes for a manual setup, you ensure your email settings for att net on iphone are built to last.
Getting Your AT&T Email Hooked Up on Android
One of the best things about Android is the sheer choice you have. You can stick with the built-in Gmail client, use Samsung Mail if you've got a Galaxy, or grab one of a dozen other great apps from the Play Store. But with all that variety, finding a one-size-fits-all setup guide can be a pain.
The good news? The core steps to set up att email are pretty much the same, no matter which app you're using. The secret is to skip the "automatic" setup and do it manually.
Auto-discovery features often trip over the wide range of AT&T email domains—think sbcglobal.net, bellsouth.net, and pacbell.net. Taking a minute to plug in the settings yourself is the best way to get a solid connection from day one and avoid those nagging att mail problems later.
Kicking Off the Manual Setup
First things first, open up your email app of choice and find the option to "Add another account" or something similar. Punch in your full AT&T email address (like yourname@swbell.net). The app will probably try to be helpful and configure itself automatically. Don't let it. Look for a button or link that says "Manual setup" or "Advanced" and tap it.
You'll then be asked to pick the account type. Just like on other platforms, IMAP is the way to go here. It keeps everything in sync, so when you delete a spam message on your phone, it's gone for good when you check AT&T mail on your computer, too.
Punching in the Server Details
This is where the magic happens. You'll see a screen with fields for both incoming and outgoing mail servers. You need to get these exactly right.
Use these mail settings for att.net to make sure everything talks to each other correctly.
Incoming Server (IMAP) Settings
- Server:
imap.mail.att.net - Security Type: SSL/TLS
- Port: 993
- Username: Your complete email address
- Password: Your Secure Mail Key or password
Outgoing Server (SMTP) Settings
- Server:
smtp.mail.att.net - Security Type: SSL/TLS
- Port: 465
- Username: Your complete email address
- Password: Your Secure Mail Key or password
A common mistake is skipping the username and password for the outgoing (SMTP) server. Many apps make it look optional, but if you leave it blank, you'll be able to receive emails just fine but won't be able to send anything.
Your Secure Mail Key is a Must-Have
For almost any third-party email app, AT&T requires you to use a 'secure mail key' instead of your normal password. This is a special 16-character code you generate from your myAT&T profile. If your login keeps failing, this is almost always the fix.
Finishing Up and Making Sure It Works
Once you've entered all the AT&T IMAP settings and hit "Next," your app will reach out to AT&T's servers to verify everything. Give it a minute. If you got it all right, you'll land on a final screen where you can set your display name and how often you want the app to check for new mail.
With global email users expected to hit 4.6 billion by 2025, keeping these settings straight is essential. For a massive provider like AT&T, which handles everything from its own domains to integrated services like att.net email at yahoo, precise email settings att.net are what keep millions of users connected. You can dive deeper into these trends in this email marketing statistics report from Oberlo.
If you hit a verification error, go back and double-check every single character. A simple typo in a server name or your email address is the culprit nine times out of ten. By following these manual steps, your att net mail settings will be rock-solid on your Android device.
Working Through Common AT&T Email Login Problems

It’s a frustratingly common scenario. You’ve triple-checked all the AT&T email settings, but your inbox just won't cooperate. One minute everything is working perfectly, and the next, you're hit with an endless loop of password prompts.
Don't worry, you’re not alone. These issues pop up all the time and usually have a pretty simple fix. We're going to walk through the most stubborn att mail problems I've seen over the years, from authentication failures to one-way email traffic that leaves your sent items in limbo.
The Secure Mail Key: Your Go-To Fix for Login Failures
If you keep getting slapped with "Authentication Failed" or "Incorrect Password" errors—even when you know you're typing the right password—the problem is almost always the Secure Mail Key.
AT&T rolled this out as a security upgrade, and it's now required for most third-party email clients like Outlook, Thunderbird, and the native mail apps on your phone.
Think of it as a unique, 16-character password generated specifically for each app, which keeps your main account password safe. You create it one time through your myAT&T account profile online.
Key Takeaway: If you're hitting a wall with login issues on any
att email app, creating and using a Secure Mail Key should be the very first thing you do. This single step resolves over 90% of the login-relatedatt email troublepeople encounter.
When You Can Receive Mail But Can't Send It
This one is a real head-scratcher: new emails are flooding into your inbox, but anything you try to send just sits in your Outbox, going nowhere.
This is a classic sign that your outgoing mail server (SMTP) settings are off. Your app is connecting to the incoming server just fine, but it’s failing to properly authenticate with the outgoing one.
Here’s a quick checklist to diagnose this:
- Check SMTP Authentication: Dive back into your account settings and make sure the box for "My outgoing server (SMTP) requires authentication" is definitely checked.
- Verify SMTP Credentials: A lot of email apps make the username and password fields for the SMTP server seem optional. They aren't. You absolutely must enter your full email address and your Secure Mail Key here, just like you did for the incoming server.
- Try the Alternate Port: While port 465 is the standard for att smtp settings, some networks or firewalls can block it. As a workaround, try switching to the alternate secure port, 587.
Figuring out SMTP issues can be a pain, but it's essential for reliable email.
Syncing Problems and Missing Folders
Ever delete an email on your phone, only to see it reappear on your laptop later? Or maybe you create a new folder on the att website mail portal, and it never shows up in Outlook? That’s an IMAP problem.
IMAP is the protocol responsible for keeping all your devices perfectly in sync. When it's not working, things get messy fast.
The most common culprit is a setting called the "IMAP Path Prefix." Most modern email clients don't need this, so you can leave it blank. But some older apps stumble without it. If your folders are out of sync, find this field in your advanced settings and try typing INBOX. This often forces the client to find the right path and sync everything up properly.
Of course, a spotty internet connection can also interrupt the sync process, so make sure you're on a stable network.
To help you quickly diagnose what's going wrong, I've put together this quick-reference table. Find your symptom and see what the likely cause and solution are.
Common AT&T Email Issues and Solutions
Sometimes, the issue is as simple as an outdated password. If you're still stuck after trying these fixes, it might be a good time for some account maintenance. Refreshing your credentials can often solve lingering login problems, and you can learn how to change your email password on an iPhone to cover all your bases.
By working through these common scenarios one by one, you can usually pinpoint the problem and get your email flowing smoothly again.
Got Questions About Your AT&T Email Setup?
Even with a perfect guide, it’s completely normal to have a few questions about the finer points of AT&T email settings. Let's be honest, the service has a long history with all the mergers and security updates over the years, so a little confusion is expected.
We’ll walk through some of the most common hangups I see, from dealing with those older bellsouth.net and sbcglobal.net addresses to figuring out what on earth a Secure Mail Key is. Getting these details right will make managing your att email accounts and fixing any issues a whole lot easier.
What's This "Secure Mail Key" AT&T Keeps Talking About?
If you're trying to add your AT&T email to an app like Outlook or Apple Mail, you've probably run into this. The Secure Mail Key is an extra security step AT&T requires. Think of it as a unique, 16-character password that you create specifically for one email program.
Instead of storing your main account password in a potentially less secure app, you use this one-time generated key. It’s a smart move for security. If you keep getting password errors even though you know you’re typing it correctly, this is almost always the fix.
You can get one by logging into your myAT&T account, heading to your profile, and looking for the "Secure mail key" option to generate a new one.
Are AT&T and Yahoo Mail the Same Thing?
This is a classic point of confusion. While AT&T and Yahoo are partners, they are not the same service. AT&T uses Yahoo's backend to power its email system, which is why you’ll often land on a Yahoo-branded login page when you check att mail on the web.
But here’s the crucial part: your email address (like @att.net or @sbcglobal.net) is still an AT&T account. You absolutely must use the AT&T-specific server names we've provided (imap.mail.att.net and smtp.mail.att.net), not the standard Yahoo ones. Using the wrong servers is a surefire way to make the setup fail. This applies to your att yahoo mail settings too.
Can I Still Set Up My Old Bellsouth or SBCGlobal Email?
Yes, you certainly can! AT&T fully supports all the old email domains it picked up from mergers over the years. So if you need sign in for bellsouth.net email or have one of these, you’re in luck:
@sbcglobal.net@bellsouth.net@pacbell.net@swbell.net@ameritech.net
And the best part? All of these legacy domains use the exact same IMAP, POP3, and SMTP settings as a regular @att.net address. No need to go hunting for special instructions. Just make sure you use your full email address (e.g., yourname@bellsouth.net) as the username along with the standard AT&T email settings.
Pro Tip: A common mistake is using just the part of your email before the "@" as the username. The server needs your full email address to know who you are. Always double-check that you've entered the whole thing.
Should I Use IMAP or POP3?
For 99% of people today, IMAP is the way to go. Think of IMAP (Internet Message Access Protocol) as a sync service. It keeps your email account identical across all your devices. When you read an email on your phone, it shows as read on your computer. Delete it from your tablet, and it's gone from the webmail, too.
POP3 (Post Office Protocol 3) is an older system that just downloads your email to one single device, often deleting it from the server afterward. This makes managing mail from both a phone and a laptop a nightmare and can easily lead to you losing important messages.
Unless you have a very specific, old-school reason to keep emails stored offline on only one machine, stick with IMAP. It’s just a much more seamless and modern experience.
And speaking of modern email practices, if you're managing multiple accounts for outreach, securing your sending is just as critical as the initial setup. You can dive deeper into protecting your domain’s reputation with our guide to SPF, DKIM, and DMARC.
Ready to take your email outreach to the next level? PlusVibe uses powerful AI to help you create hyper-personalized campaigns, improve deliverability, and get more replies. Stop guessing and start growing with a smarter approach to cold email. Explore PlusVibe today!